Smart Home Automation: A Handyman's Guide
Smart Lighting Installation, Voice-Controlled Outlets
As a seasoned handyman, I've seen the evolution of home technology firsthand. Smart home automation has revolutionized the way we live, making our spaces more convenient, efficient, and enjoyable. In this comprehensive guide, we'll explore the world of smart home automation, discussing benefits, essential components, and practical DIY projects to upgrade your space.
Introduction
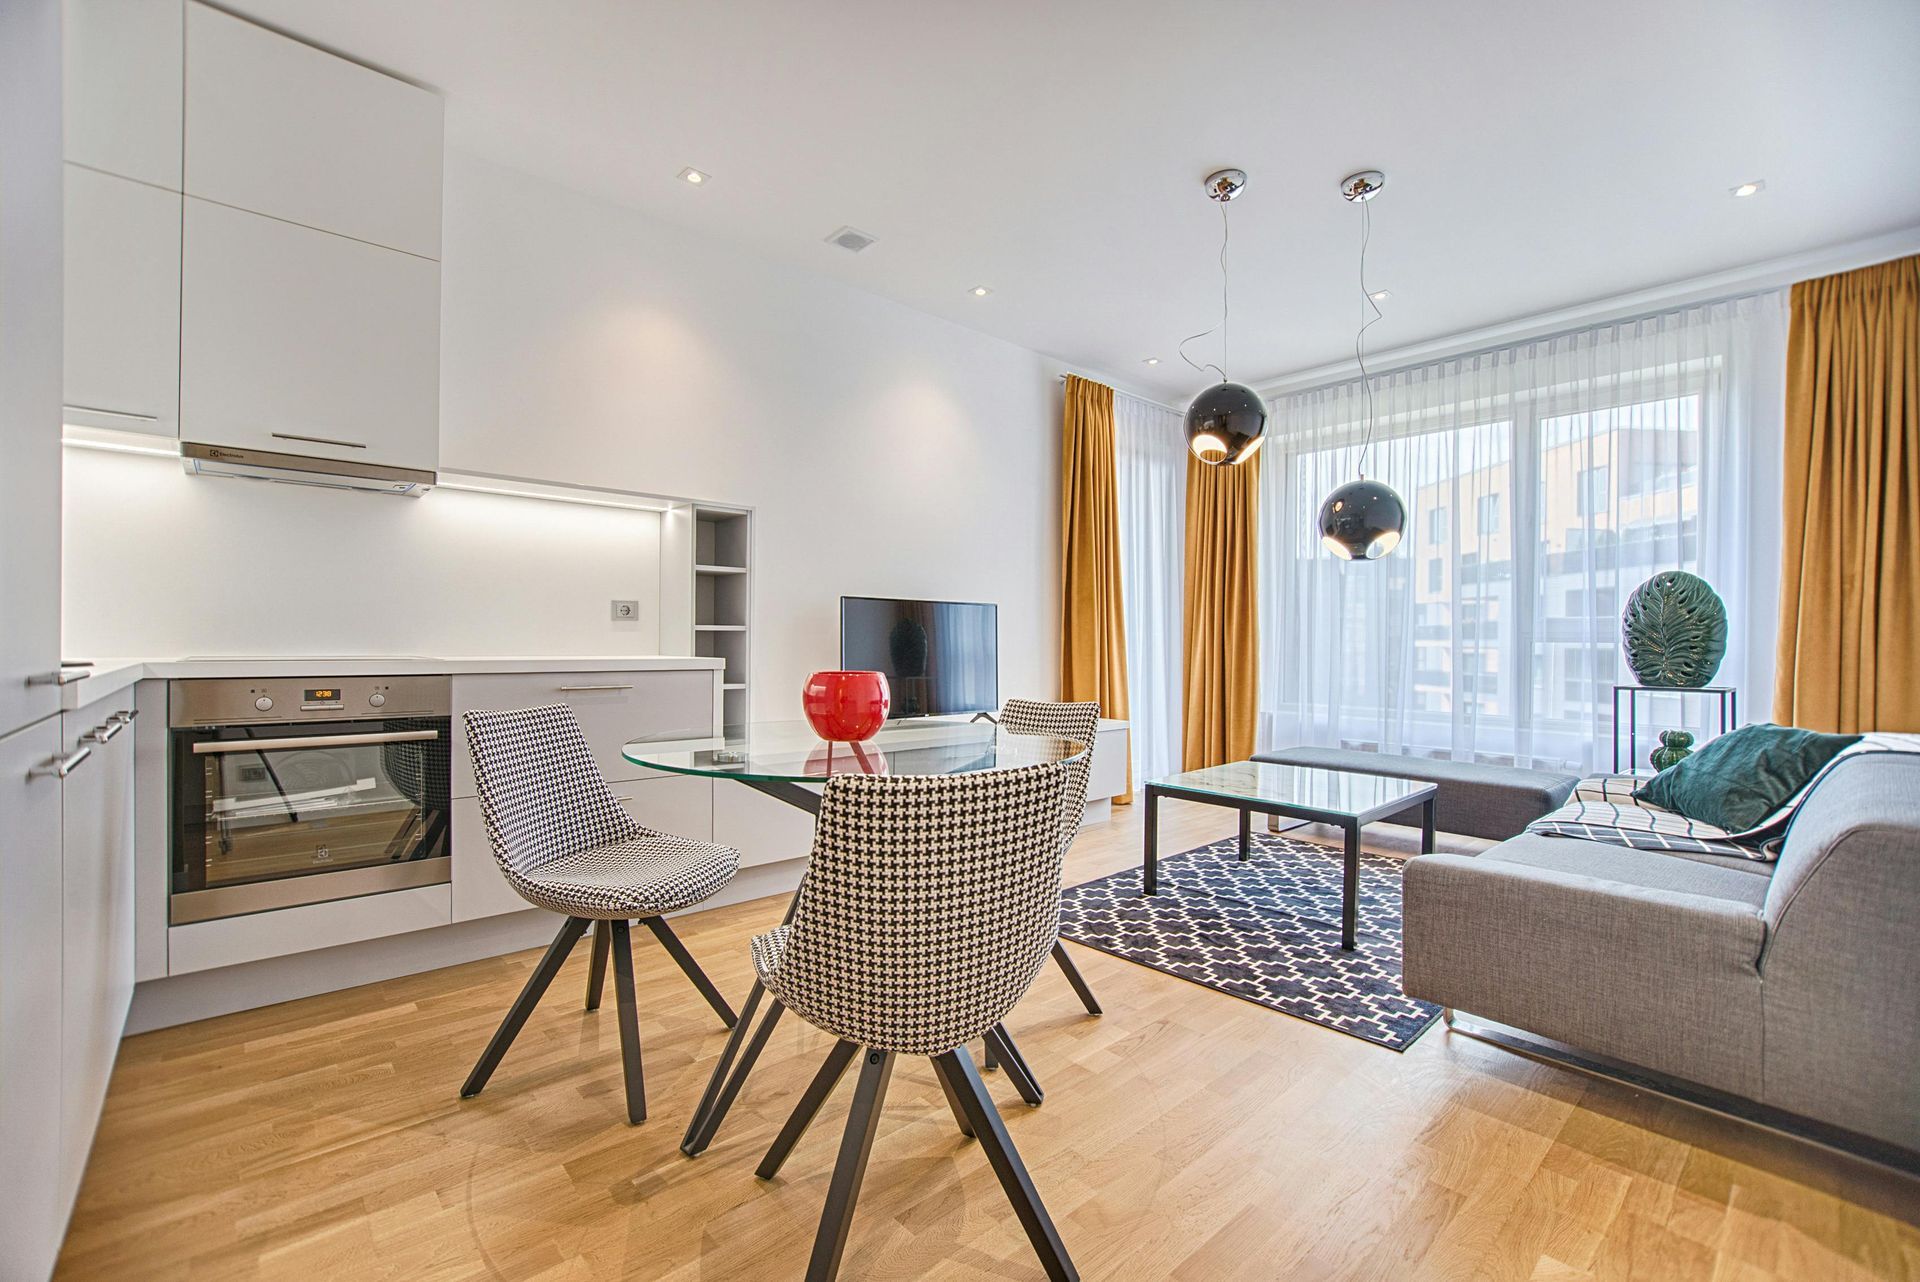
Smart home automation integrates various devices and systems to create a seamless, connected experience. With the rise of IoT (Internet of Things) technology, upgrading your space has never been easier. Whether you're a tech-savvy enthusiast or a DIY novice, this guide will walk you through the process of transforming your home into a smart haven.
Benefits of Smart Home Automation
1. Convenience: Control devices with a single interface or voice command.
2. Energy Efficiency: Optimize energy consumption with automated lighting and temperature control.
3. Enhanced Security: Monitor and secure your home remotely.
4. Increased Property Value: Smart homes attract potential buyers.
5. Improved Accessibility: Assistive technologies for seniors and individuals with disabilities.
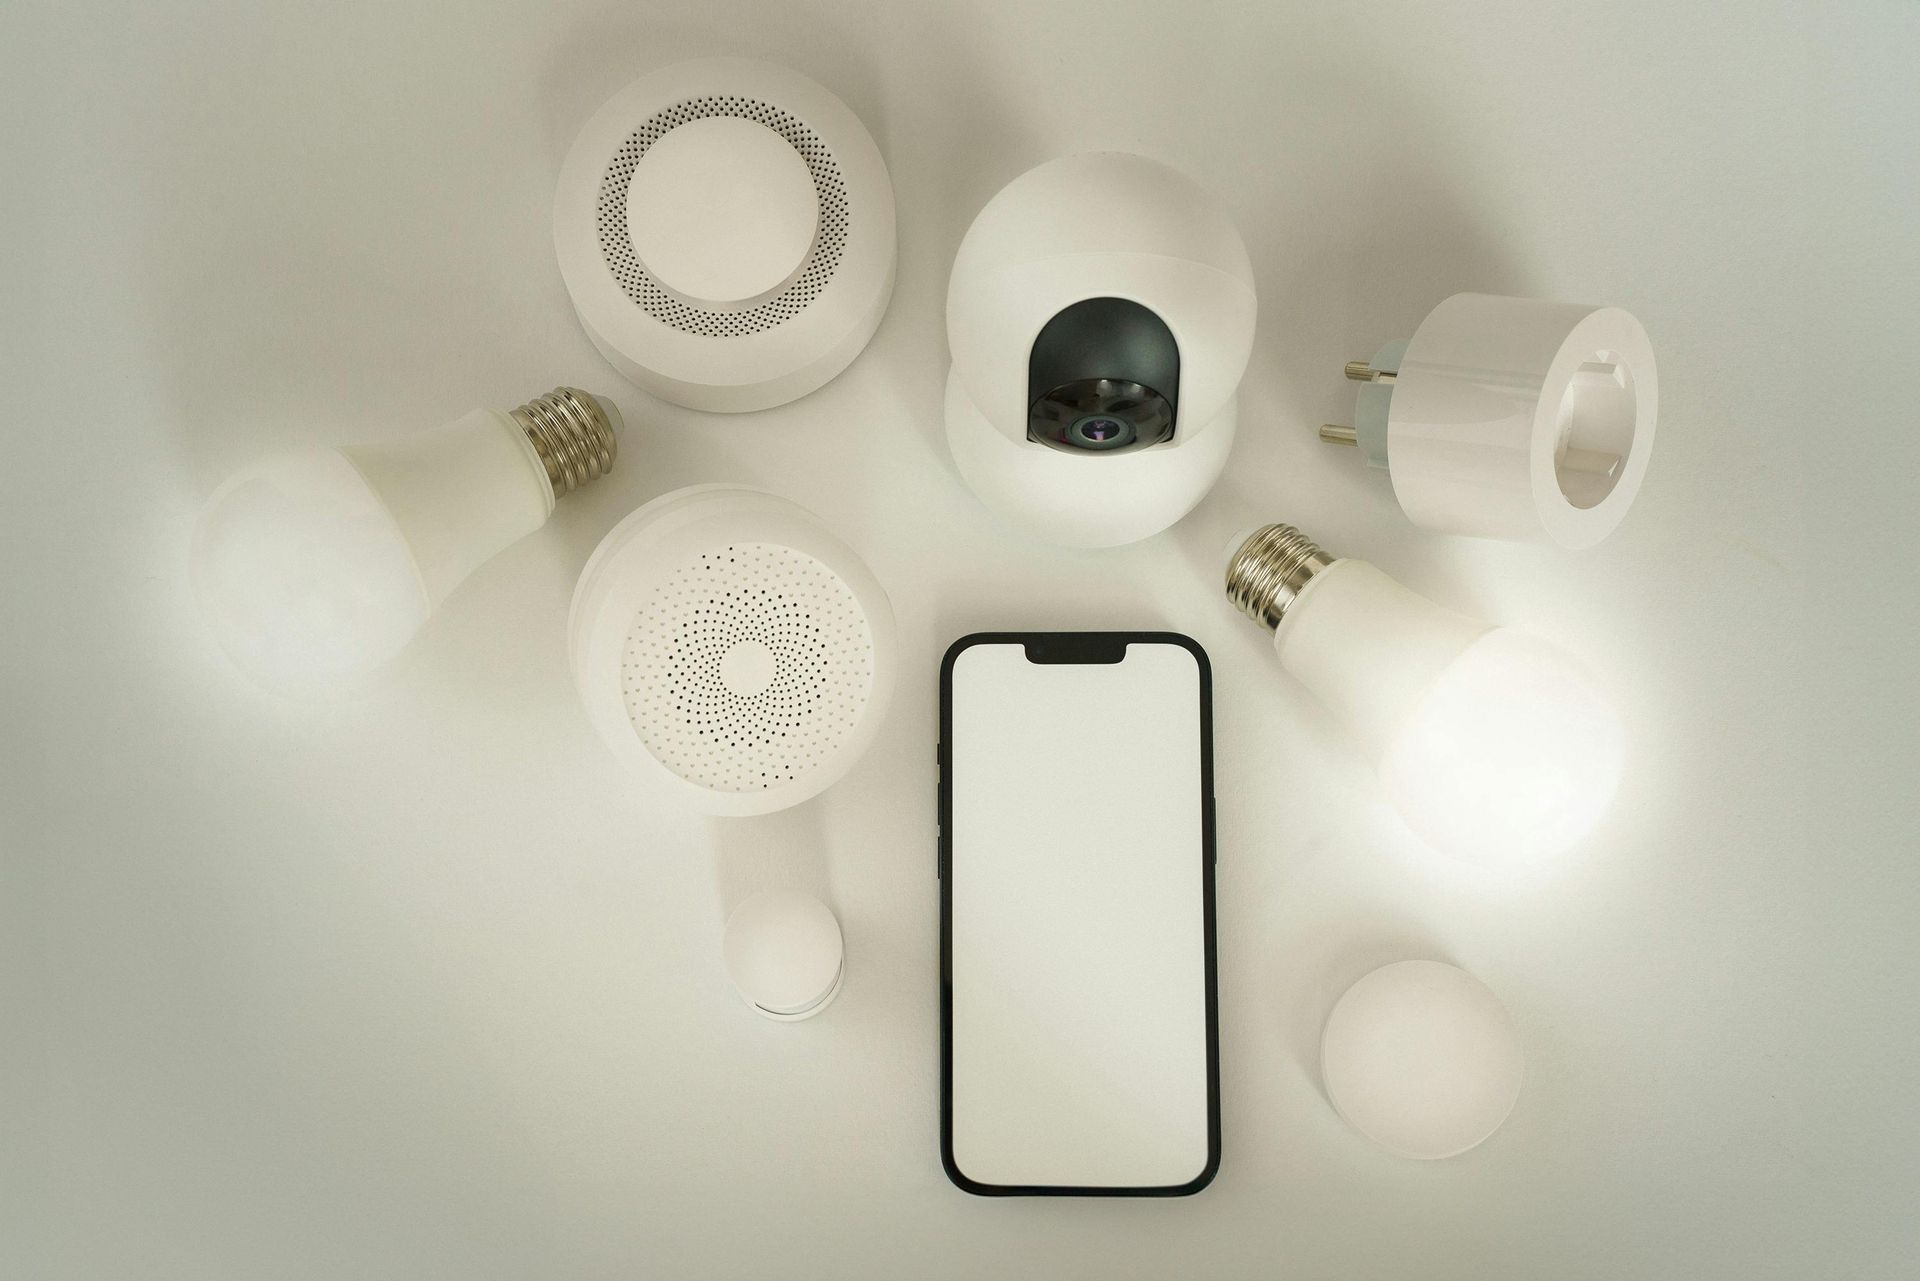
Essential Components of Smart Home Automation
1. Hub or Controller: Connects devices and integrates systems (e.g., Samsung SmartThings, Apple HomePod).
2. Smart Speakers: Voice control with Amazon Alexa, Google Assistant, or Apple Siri.
3. Sensors: Detect motion, temperature, and humidity.
4. Smart Lighting: LED bulbs with Wi-Fi or Bluetooth connectivity.
5. Smart Thermostats: Learn your temperature preferences and adjust accordingly.
DIY Projects for Smart Home Automation
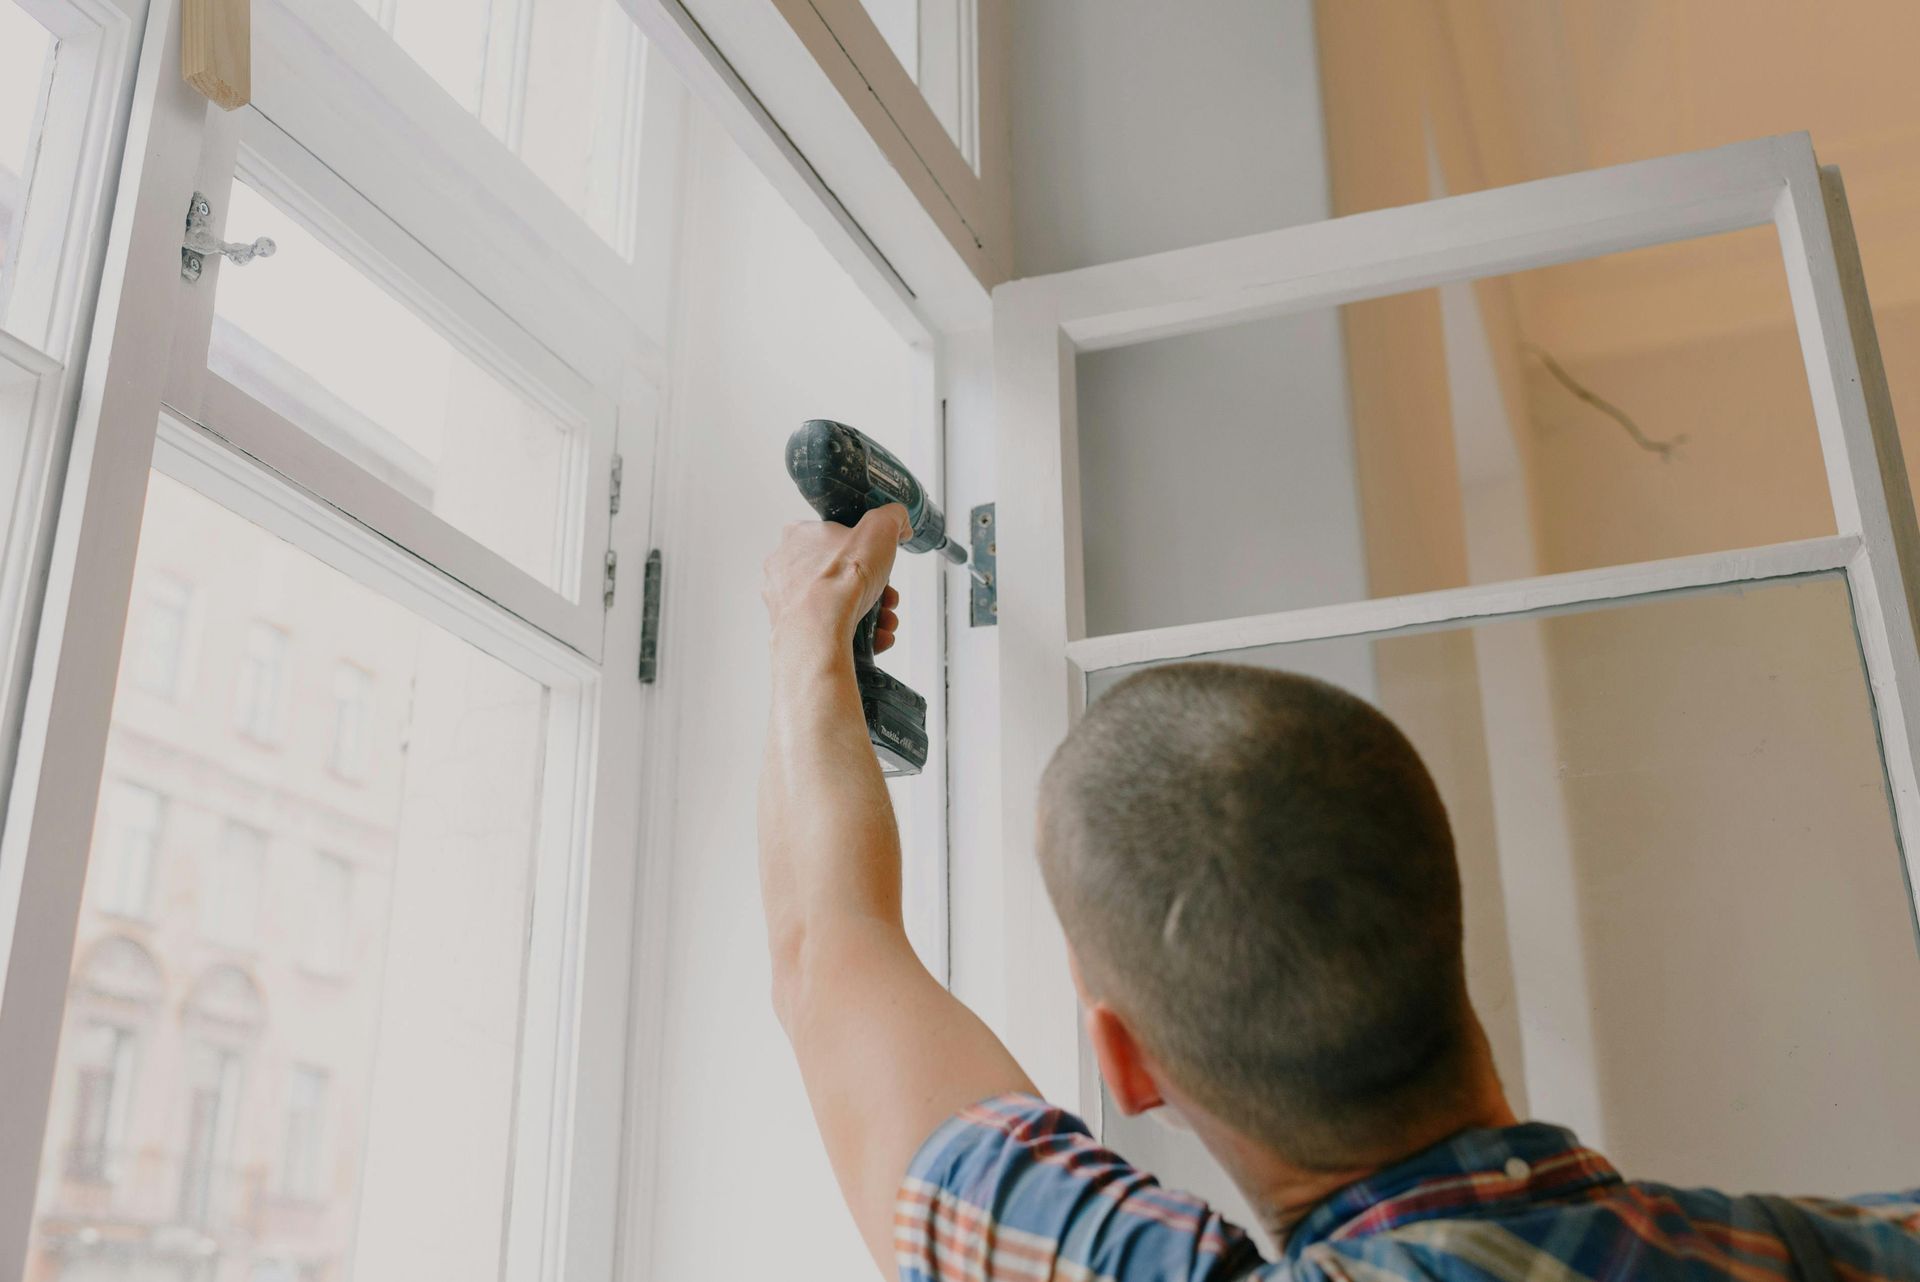
1. Smart Lighting Installation: Replace traditional switches with smart dimmers.
2. Voice-Controlled Outlets: Upgrade outlets with smart plugs.
3. Smart Thermostat Installation: Replace traditional thermostats with learning models.
4. Security Camera Setup: Install wireless cameras with motion detection.
5. Automated Door Locks: Install keyless entry systems.
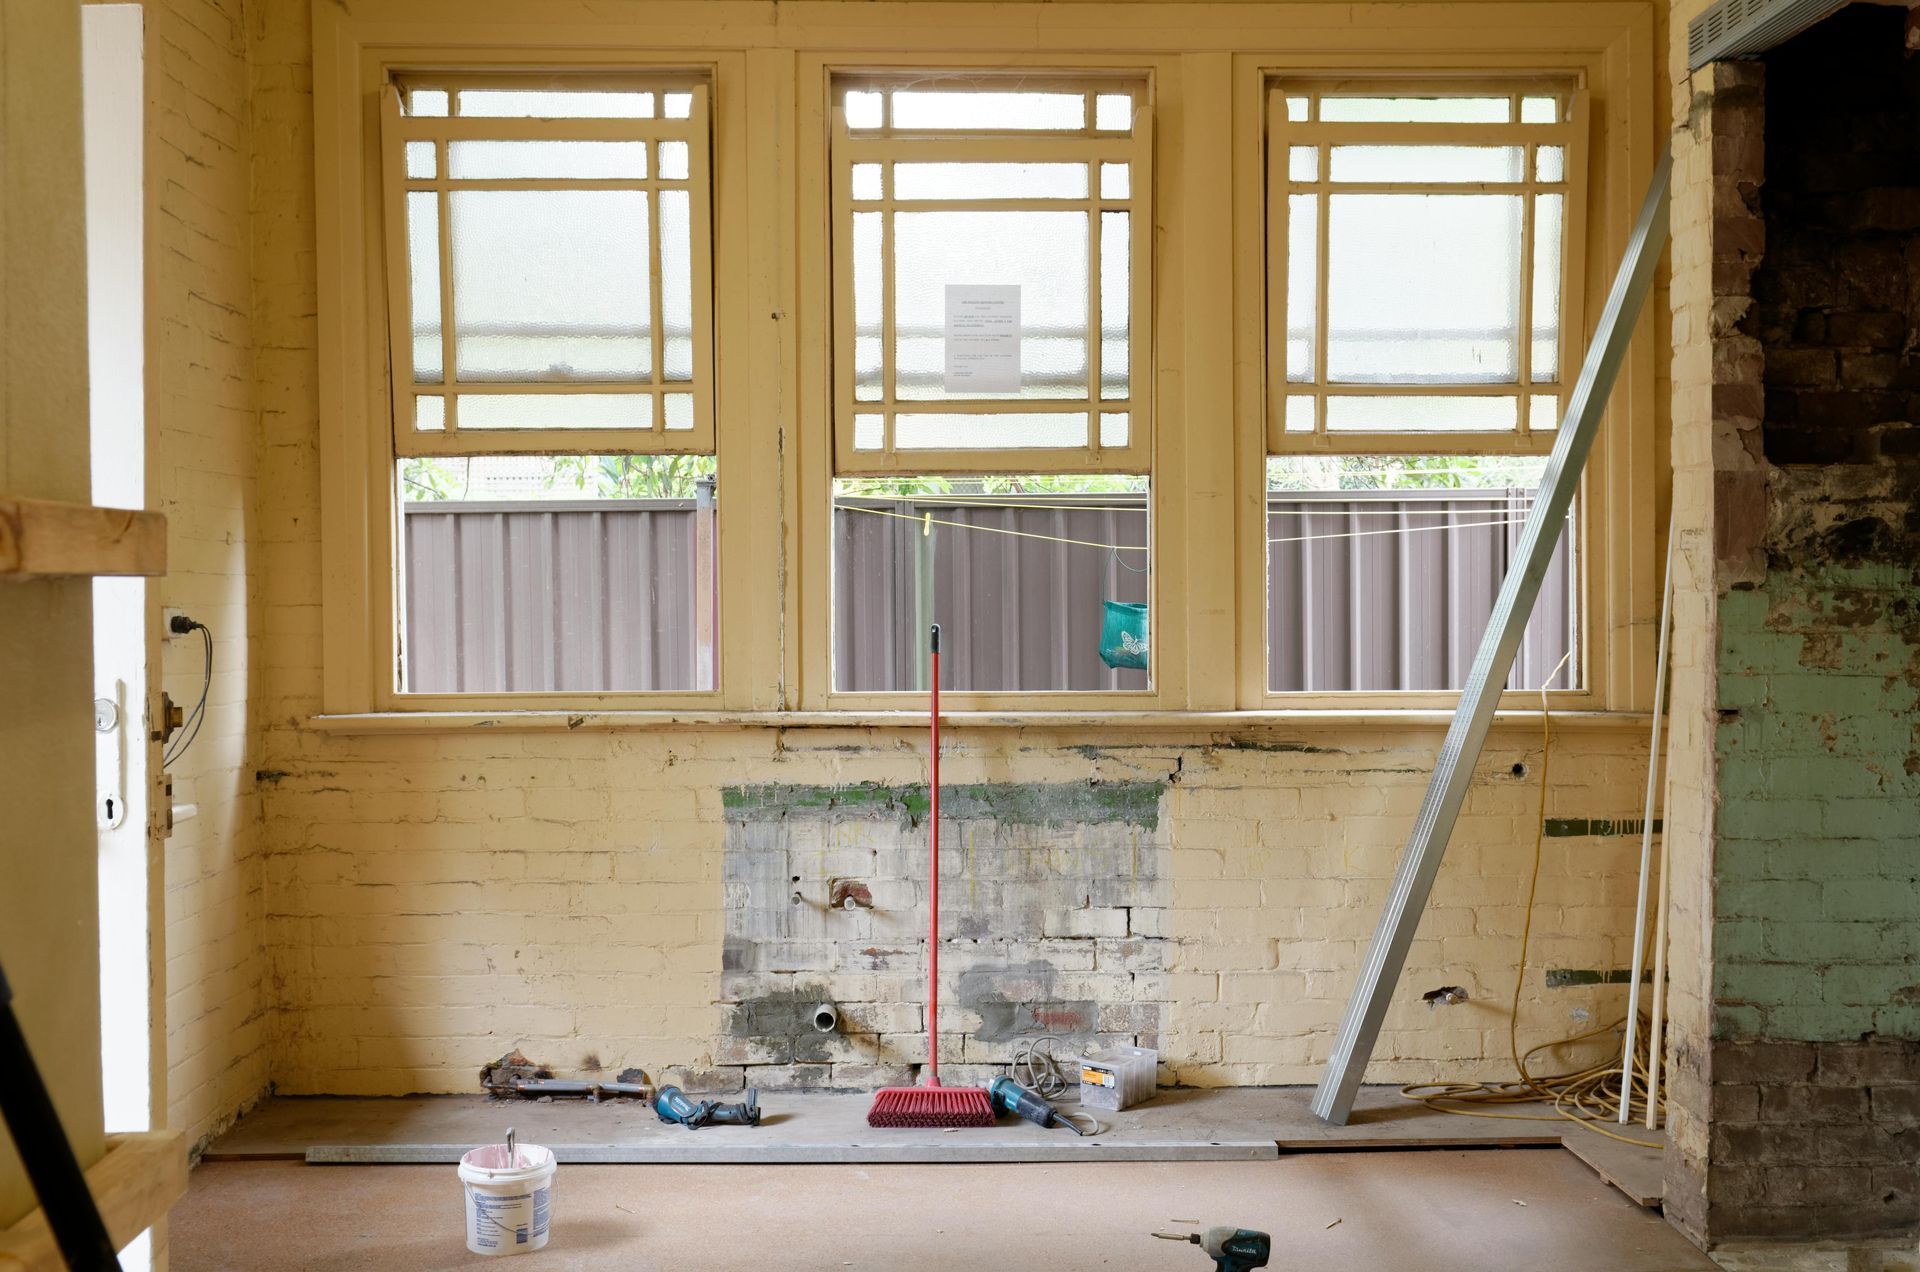
Step-by-Step DIY Guide: Installing Smart Lighting
Materials needed:
- Smart light bulbs (e.g., Philips Hue)
- Smart dimmer switch
- Wire connectors
- Voltage tester
Instructions:
1. Turn off power to the lighting circuit.
2. Remove existing switch and install smart dimmer.
3. Connect wires and secure with connectors.
4. Replace traditional bulbs with smart bulbs.
5. Configure smart lighting system using the manufacturer's app.
Tips and Considerations
1. Start Small: Begin with a single room or device.
2. Compatibility: Ensure devices are compatible with your hub or controller.
3. Security: Use strong passwords and encryption.
4. Power Outages: Consider battery backup systems.
5. Regular Updates: Keep software and firmware up-to-date.
Integration with Wearable Devices and Cars
1. Smartwatches: Control smart devices with wearable technology.
2. Smart Car Integration: Control home devices from your vehicle.
Future of Smart Home Automation
1. Artificial Intelligence: AI-powered automation systems.
2. 5G Connectivity: Faster, more reliable connections.
3. Voice-Activated Interfaces: Enhanced voice control capabilities.
Conclusion
Smart home automation offers endless possibilities for upgrading your space. With this handyman's guide, you're equipped to transform your home into a convenient, efficient, and enjoyable oasis. Remember to start small, prioritize compatibility, and consider security measures.